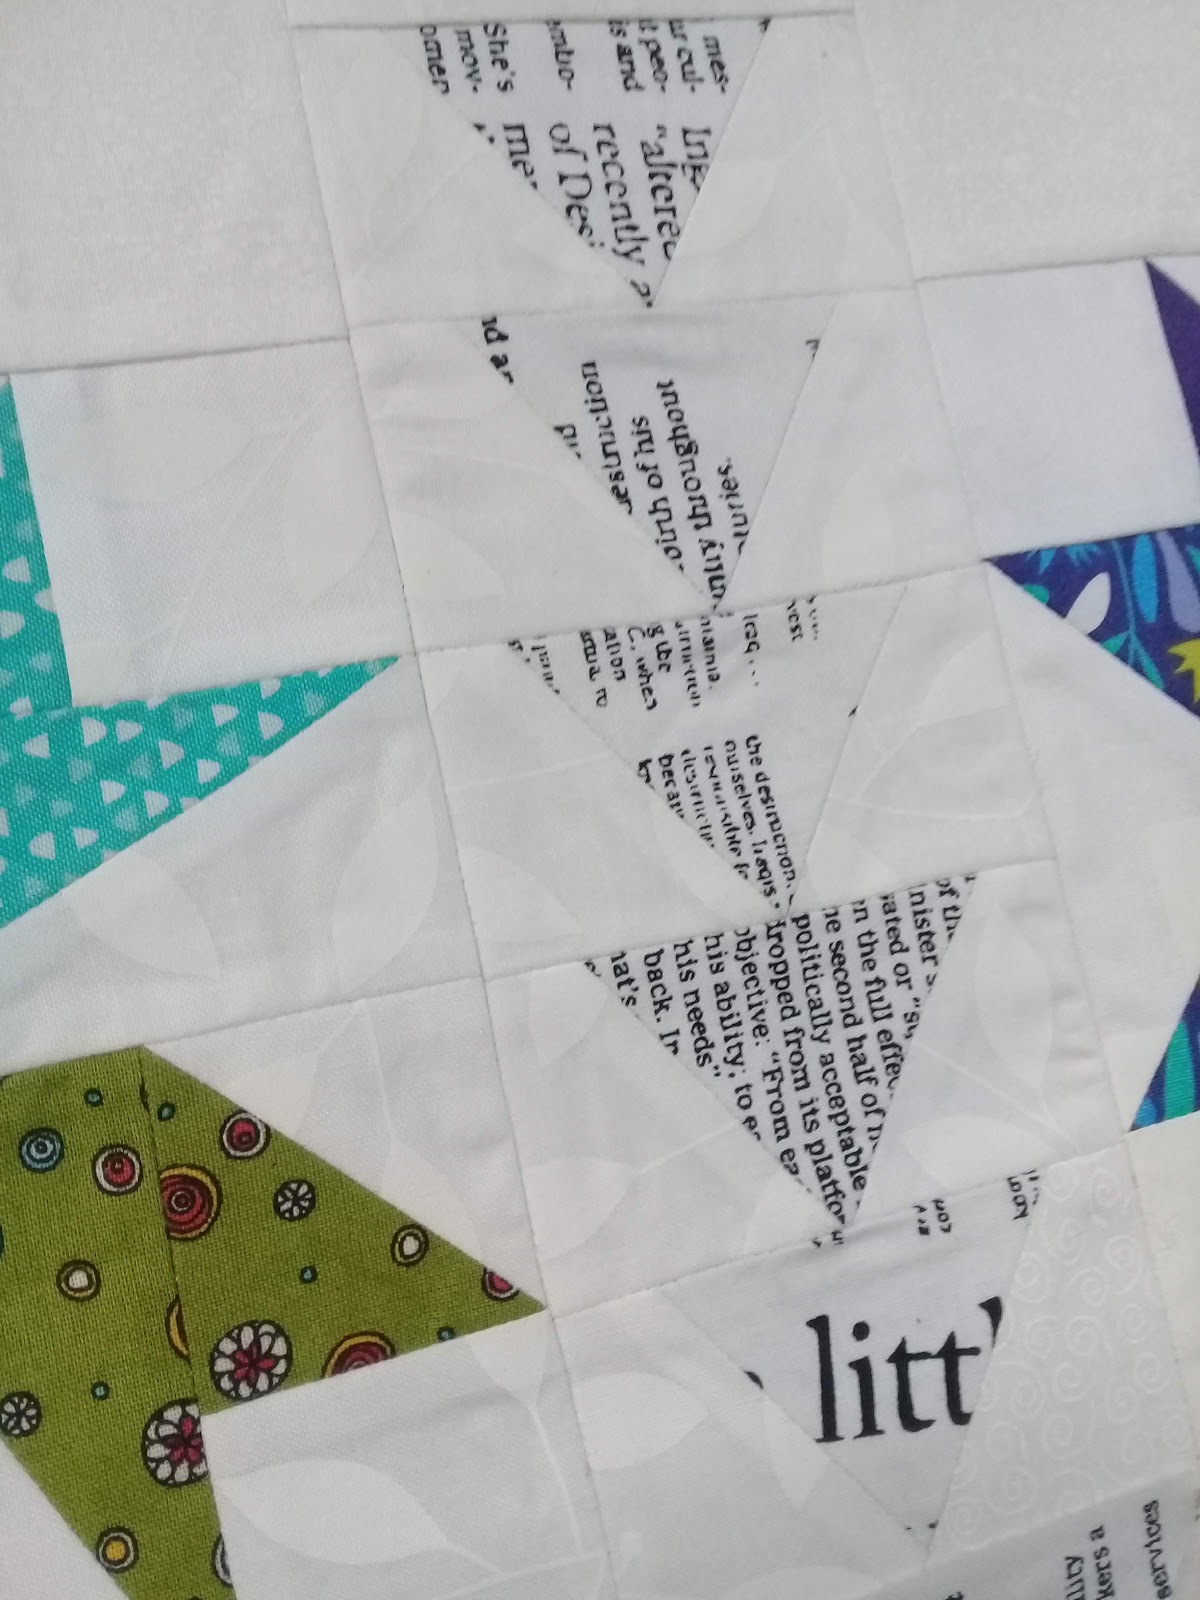
Somewhat ironically the road to successful straight line quilting doesn't seem to be very straight.
I will start this story by stating that i have previously tried straight line quilting with my Brother Innovis and it was TERRIBLE! Whether it is the quilting foot or the machine or me or a combination of all three, it is something that just does not work for me...
I decided to try and advance my lackluster skill set by applying different straight line designs to the individual blocks of the Ultimate Beginner Quilt and use my Janome 1600P semi industrial straightstitch sewing machine with a walking foot. Match made in heaven, I would have thought... but apparently not so much.
The initial block one quilting was unpicked immediately and I decided to stick with a modern minimalist approach (less is less/bare minimum to hold it together)... in the hopes that faults wouldn't stick out too much. It was OK but nothing to rave about. Horizontal lines either side of the seam lines.
And block two was more of the same... echo quilting either side of the nine patch seams.
The QAYG technique I decided to try involves sewing the blocks together wrong sides facing... and only sewing the backing fabric. Then, after pressing the seam flat, applying a straight cut strip turned into a sashing with the raw edges turned under, and then top stitched over the seamline and seam allowance. (On the whole this technique seems to be working but i wont be 100% sold until i attempt to join two rows together). Let me know if you want photos of this step and I'll do a more comprehensive post about that with the next row of blocks.
The first experiment I used a 1/2" sashing and of course it only just covered the 1/4" seam allowances, but little whiskery threads poked out. So I changed the sashing to a 3/4" sashing and that solved that problem... but it means that it covered over the edge of the block, which would become a problem once the blocks have design elements like points!
So I unpicked version two sashing ... and the quilting... and applied 2 1/2" framing strips and requilted the blocks...
Because I stitched through the framing strips... it just kind of looked weird... slightly pulled to one side and not well matched... and I actually spent the past few weeks just considering what the next step should be. Was it time to accept defeat or was there other options I just hadn't considered yet?
It just didn't look like how I imagined. The quilting lines top and bottom should align... but they didn't 😕😤
As an aside... I still didn't get 100% drag free stitching, which became obvious on the 9 patch where the stitching intersected. On such a small piece it didn't have enough time to pucker but there was definite shifting and distortion. I also applied starch to both the block and backing fabric and this did help although was not a complete success. So the Janome 1600P did not solve those problems.
So I took my problem to my local quilt shop and had a heart to heart with Kerryn the owner. She knew exactly where i was coming from... and the reasons why I was attempting what I was... and we discussed options. And whether it was worthwhile continuing... the hard questions!
She suggested quilting something completely different on block three and use a different sashing which was a bit more camouflaging... then reassessing... with possibly rearranging the blocks to provide more contrast between them. On top of this, I decided to quilt close to the edge of the block to baste the edges down, although this would be hidden on the front of the quilt under the sashing strip, the stitching would still show on the back (which was why I didn't do it in the first place).
So I did some diagonal quilting... with my baby Bernette machine and it turned out amazing... well, for me.... then I added a sketch black and white sashing strip in a 1 1/2" finished width... which offered the perfect amount of camouflage and also added that certain something that had been missing.
And it all seemed to come together and looks a lot more balanced.
I added more horizontal and vertical stitching to the framing on the first block, and more vertical stitching across the second... which has helped make them more individual. Although this may be tweaked a little more before I finish... I decided I didn't need to change my block layout.
I decided not to completely cross hatch this block and I actually love that little triangle thats unquilted.
This quilt won't turn out perfect, it is definitely a work in progress and an evolution... but I can see hope! That is the main thing.
My goal for January was to get the first row completed, so I very happily FINALLY ticked this off.