Thursday, January 30, 2014

Do you press to the dark side?

Well, no, I don't.

So what do I do?  Well, it all depends on the circumstances.  Does this seam need to match another seam?  Or do I just need to ensure the seam line is aligned?

If I'm trying to match up seams, I like to nest them, so that they oppose.  Which goes which way?  I work with other construction seams, and try to press away from the bulky seams where possible.  I also do the little twirly thing in the middle of a four patch seam that splits the seam allowance and distributes the bulk... but that's another discussion entirely!

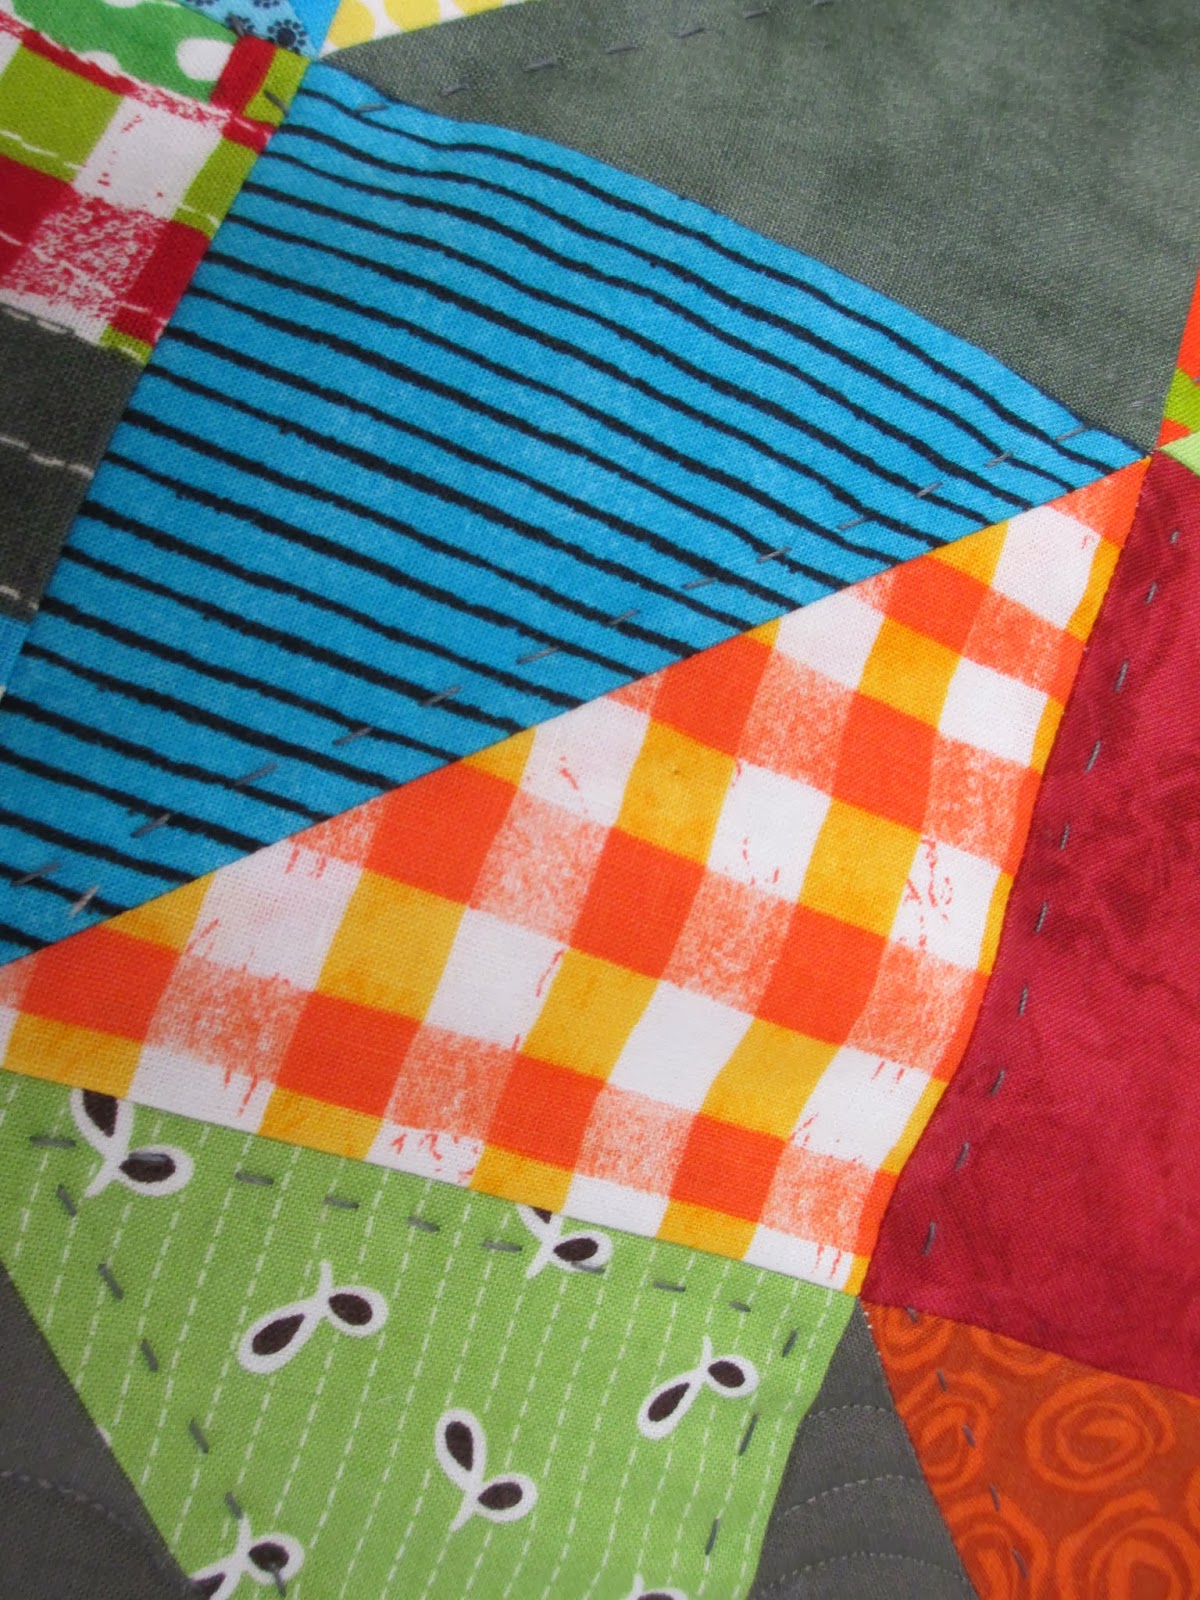
When it comes to triangles, I have a secondary strategy.  I like to be able to see what I'm doing.  That is the secret (I believe) to achieving better points.

First up, where the triangle pieces are joined together (like half square triangles), I like to press them open.  Yip, open.  Give it a try - it makes little difference to the ability to nest (except maybe pinwheel style blocks) and disperses that nasty lumpy seam.

Now, look what I did in this example, the triangles were pressed open, and the seam joining the two units was also pressed open.  I knew that this join did not need to be matched up with anything, so wasn't worried about nesting.  By pressing the seam open I get good visibility of where that triangle point is going to be, when I sew both top and bottom sides to the next pieces.  If this seam did need to match - I would have pressed it one way... either way, nested the seam, and hoped for the best with the alignment.  Knowing that my 1/4" seam is pretty consistent gives a certain amount of confidence.


When I joined the unit to the solid square, I could easily see where the stitching line went, and then reverting to the original philosophy, knowing that this section did require matching with the adjoining unit, I pressed away from the bulky seams, so towards the plain square - ready to nest with the next seam.


By pressing towards the little square on that side unit - I could press away from the bulky seam, and also allow the two units to nest.  Love it when that happens.  Once that unit was attached, I have the option of pressing it to the left - which would give good visibility for the top triangle, but hides the intersection for the bottom triangle...


And vice-versa if I press it to the right...

The solution in this case is to press this seam open, which gives the best visibility on both the top and bottom  triangles.  Plus, this seam does not need to match with its adjoining units - so I don't need to worry about nesting.
 
So that's how I do things.

How do you tackle your seam allowances?

Wednesday, January 29, 2014

A Confession of Sorts

For someone who makes beautiful quilts, it's a bit embarrassing to admit that for the last few weeks my bed has looked like this:

So first thing today I stripped off the upside down quilt (which actually is a beautiful pieced Buggy Barn cat quilt), reorganised things, and now it's much better!


Today is the last day of school holidays for my kids, so the rest of the morning was spent tidying, vacuuming and general organising getting ready for my return to work.

I did however to squeeze in a little bit of sewing time.  Block One of the sort of new project was completed!  Isn't it lovely?


The colours were pulled from this feature fabric (although I had long since integrated these fat quarters into the stash pile).
Included a luscious bundle of co-ordinating fabrics that were a lucky win early last year.


And added a few extra bits and bobs from the stash


Using this lovely wall hanging as inspiration... I stopped trying to work out how to include the feature fabric within the blocks (sometimes it is hard to use these super large scale prints effectively) - instead using it as the border only.


Choosing this quilt block creates the perfect vehicle to highlight all those lovely fabrics.

101 Fabulous rotary cut quilts by Judy Hopkins and Nancy Martin - Amsterdam Star
I altered the block size, block centre and scattered the fabrics throughout the triangles (instead of keeping the triangles for each block the same).  Did I mention that I really like how this is turning out?
Just in case you missed it

Tuesday, January 28, 2014

From millions of little bits...

... to one big bit.

Finally, the Modern Sampler Quilt... out in actual sunlight :0)


Unfortunately there was also a bit of wind, but you get the idea.

Complete with the quilt holding monkeys...
I love the fact that this quilt is made from "scraps" - leftovers bits from other projects - fond memories.  While it has done nothing to diminish that scrap pile - it has helped me to realise that it is possible to mix all sorts of styles and colours of fabric - from bright to subtle, bold to tone-on-tone.  It has been great fun and launched me onto two other scrap (busting I hope) projects.

The eagle eyed will have noticed that there is no outside sashing (yet)... I just wanted to get this progress posted, with plans to add the final sashing shortly.

Monday, January 27, 2014

Design Wall Monday

Just a bit of a change on the design wall today.  I've had the Modern Sampler up for what seems like months now... it was so refreshing to take it down and lay it out on the floor instead.

This photo shows how I tend to put quilts together, first in units of four, then 16 patch units.  Only a few more seams then it will be done.
It didn't take long for other things to crop up though.


 Nadia has claimed a small section for her own blocks.  After choosing her first fat quarter pack (what a mother/daughter moment) she announced that she wanted to make a quilt!  These wonky cross blocks are perfect because she can practice her straight seams, but as it needs to be squared up anyway, it doesn't really matter too much what her seam allowance is.


I popped up the four My Tweets blocks that need blanket stitch - just in case I'm inclined to forget about them.

I also redid that first Seeing Squares block, including a few more neutrals, and whipped it together.  This is actually one of the other layouts...


I've started piecing the second block but still have a few spaces to fill.


Because I've been so good... I thought I deserved a crack at something new.  Just one block.  Until I finish something else momentous...like quilting or binding or something, and then I will be "allowed" to do another block.

Well, this feature fabric has sat in my stash for at least a couple of years - so not really new.  And I had it on my list of WIP fabric piles needing a project.  I've come up with all sorts of projects ideas over the last couple of years - but nothing that has said "do it!"  After trawling through the book 100 Fabulous rotary cut quilts...  I finally found that one that I just had to start.

This is only a small portion of the first block... but I am loving it!


The original quilt had blocks which finished at 16 7/8th and had all sorts of weird measurements.  After resizing it to 18" and using my favourite easy triangle rulers...


... it was much more straightforward.  There was only one piece that measured odd at 2 5/8ths.  Easy peasy.

Sunday, January 26, 2014

Spot the difference

Friday's version
Today's version

That's right - two more blocks.


Only two more blocks to fuse!  Let's just forget about the full on applique border just for the moment (and the four blocks that now need blanket stitching done).  I have officially run out of fusible web - so that's it for a while.  But it has been oh so good to knock a few of these off the list.

Friday, January 24, 2014

Fabriholics Anonymous - Dieting and staying on track

I've spent the last couple of weeks focusing on putting together long term quilt tops that have finally reached that "stage" of getting all their blocks finished.  Tokyo Subway is all in one piece, and my Modern Sampler is partially sashed.  I'm just at that boring bit where the thrill of new projects, new fabrics and new everything else helps to get through that monotonous bit onto the next bit.  But with a list of WIP's like mine (and having sworn off starting new projects and buying new fabric) I am having to make adjustments to the way I normally work.  Quilting has started to lose some of its sparkle... anyhoo...

... onto fabric.  Confession time... I had to buy some batting, so I bought some binding fabric.  This is for the Tokyo Subway and I think it'll look perfect, and I'm sure it fits into the necessary purchases department.  While it is pretty, it is a struggle to describe the purchase as exciting though.


I also received a late Xmas present... a Hoffman Bali Charm pack and bag pattern :0)


 Isn't it yummy?  This is a Parfait set... and much more exciting... looks like you could eat it.


Thanks Monika.  It might just turn into something that looks a little bit like this... if I am ever allowed to start a new applique project.  I think I bought this pattern about this time last year.


Talking about applique projects, long term readers will remember the My Tweets quilt (started late 2011?), in which progress has been relatively quiet practically non-existent this year.  This morning I finished fusing another block...


And the blocks so far.  Two blocks need machine blanket stitch.


For a bit of variety, and sticking to projects that are on my WIP list, I've added a few more scrap tiny square blocks to my Seeing Squares  pile.  This is one of the larger units that combines the smaller units into a 12" block - just to get some idea of how it is starting to look together.  Haven't decided yet whether to swap out some of the coloured squares (leftovers from the Tokyo Subway) for neutral solids to give it a bit more airy feel.


Any thoughts?


Linking with Jess @ The Elven Garden and Rebecca Lynne @ Making


FabAnon

Wednesday, January 15, 2014

Finally, some excitement!

I ordered some backing fabrics towards the end of last year, and have been waiting patiently (or not so patiently) for them to arrive.

Today, finally, one of them did!

First up is the package from Fort Worth Fabric Studio online shop. They really paid a bit of special attention to the packaging, with the fabric enclosed in a plastic bag and then the international envelope had extra tape around all the edges.  If you've ordered fabric from the US before, you'll know that those international envelopes are not the strongest and I have had things arrive before where the cardboard was hanging onto the contents by a shred.  Inside there was also a hot chocolate sachet and some snowman stickers - plus a nice little Xmas tag.  A nice touch.  I have looked at their website on and off for quite some time, they also send a weekly email newsletter with shop news and specials - but this was the first time that the stars aligned and I ordered from them.

Right, onto the contents!

Two fabrics (4.5yds each), one pattern and a charm pack.  This shop allows up to 9yds of fabric for the smaller bags.  Luckily the charm pack and pattern in addition to the yardage didn't affect the postage charges.

I selected this large bright floral with the idea of using it on the back of the Tokyo Subway quilt.  Although it doesn't have ALL of the colours of the tracks, it does have quite a few (more importantly, all the colours in the print are in the quilt top)... and I liked the tropical boldness of it - totally different to all those regimented squares on the quilt top.

Calypso by Red Rooster


I chose this bunting print hoping that it would go with my long forgotten Swoon top.  You may remember that I pieced a huge back for this one... but in hindsight I feel like it is too dark and heavy for the airiness of the quilt.


While it doesn't look too bad with this block - it doesn't really go with the rest of the colours - which are a lot more subtle than the bunting. 


In fact, it looks better with the Tokyo Subway quilt - and also has many of the same bright colours.  However I am going to stick to the large floral as it will be more practical for its intended recipient.


Looks like this backing will need to wait for another time.

Roll on package number two!

Tuesday, January 14, 2014

Little step by little step

Sometimes when you make things you know exactly how you are going to quilt it, what batting to use, and what the binding is going to be.  Other times you have a general idea... but need to work out the finer details.  Every so often, you work on something that you have no idea what it's going to be, let alone what you are going to do with it.

The Constellation quilt fits into the middle category.  Right from the beginning I was pretty sure I wanted to do something straight-ish in the star blocks, that highlighted the dark ring formed by the half square triangles.  I also wanted to do Angela Waters signature spiral in the background - but wasn't sure how I would manage the quilting since it was over such a large area, and I'd be doing it on my domestic machine.  First up, I practiced the spiral quilting on the Giant Chevron quilt and was feeling more confident in my ability to fit it around shapes.


I decided to add some curvy sections of pebbling - radiating out from the central star (sort of like a shooting star), and fit the spirals in between.  Although when I started this, I still wasn't sure exactly what to do in the stars.

The solution came when I realised I didn't really have the colour thread I wanted to do machine work.  But I did have something suitable to do a bit of chunky hand quilting...


Still in the early stages, but pleasing progress so far.